
It is truly amazing what inspiration can be found in a pile of firewood.
A few months ago, while stacking my firewood in preparation for the coming onslaught of another Canadian winter, I came across a number of larger logs that had not been split. Now normally my first reaction might be to grab for the axe and start splitting. But since one of my goals for Ocean View Woodworking is to reclaim, reuse or re-purpose wood I find myself being quite selective in what I'm using for heat.
So now I have these logs what can I do with them? After careful examination I could see there were going to be some interesting growth features. Often while stacking firewood you'll find chunks of figured curly or birds-eye maple. These are a must keep and can be turned in to wonderful bowls, kitchen utensils or even pens. I digress, that's another blog entirely. Back to the logs. No curly maple here but I could see from the ends of these logs there just might be some interesting branch growth or other stresses having taken place over the lifetime of the tree. I decided to cut the logs in to round blanks about 1 inch to 1 1/2 inches thick.

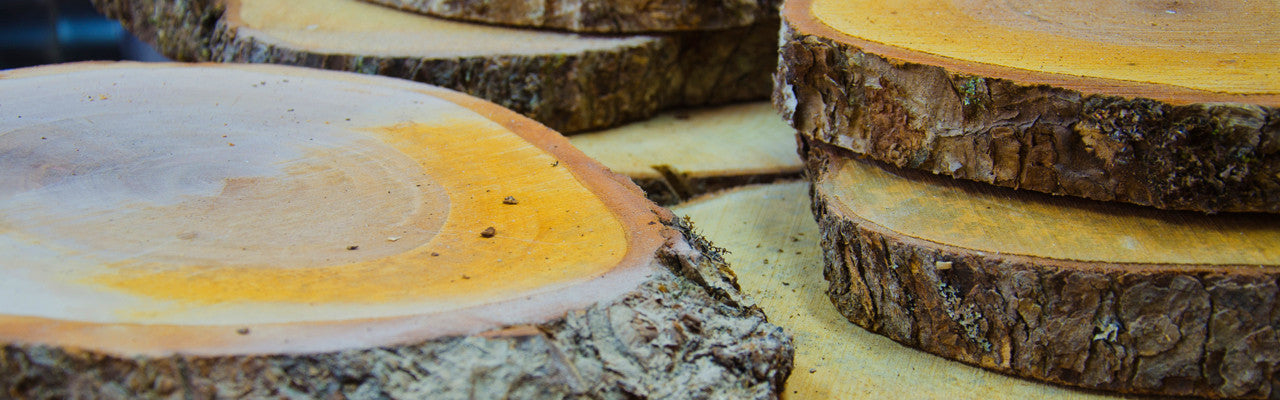
Photo 1: I cut the logs in to blanks on my bandsaw.
I recovered about 30 roundish (depends on the shape of the logs) blanks in total and you can see from the selection in photo 1 you can see that at first glance they don't look particularly interesting. However, this is one of the most amazing things I love about working with wood.
When it is first cut you are left with the rough saw marks and to the less knowledgeable not very interesting. It is a bit like peeling an onion. When you first put a regular old onion on your cutting board it's covered in the dry outer paper like onion layers. Remove those paper like layers though and you reveal the beauty of the grain structure in the humble onion.

Photo 2: You can see growth rings but no detail apart from the blade marks.
In photo 2 you can see what the surface of the wood looks like after I've cut the blanks on my bandsaw. Although you can see the basic structure of the piece formed by the growth rings there is really no detail other than the blade marks left by the saw.
Close inspection of each blank showed me that some were going to be more interesting than others. That's another of the great surprises with wood. It's natural, organic, each piece unique to the other and you never quite know what you will reveal once you start working with it.
Revealing precisely what beauty lies beneath each of these rough cuts is the next step and where the hard work comes in. However, I should note here that before I proceeded to that step I dried my blanks in a wood drying kiln. This allowed me to see if any were going to crack or deform as they dried out.
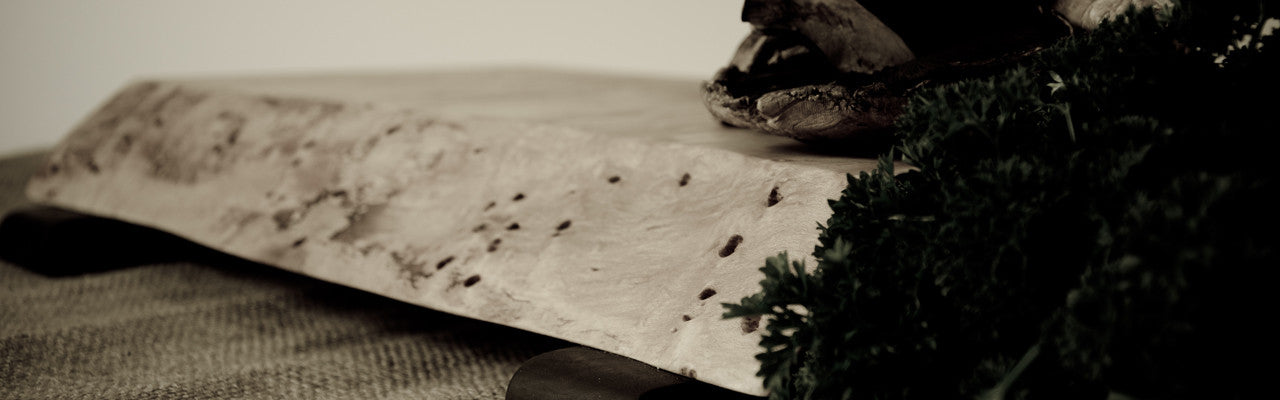
 Photo 3: As the blank is sanded it reveals the true features in detail.
As I said the next stage is really where the hard work is. First of all I had to flatten both sides of the blank. This is done with bench planes and bench sanders. As you can see from Photo 3 above as the blank is sanded the growth rings and any interesting stress, insect or other defects start to be uncovered. At this point you really start to get an understanding of how this tree grew. You can see where branches grew for instance and if you were really patient you could count the rings to determine the age of tree.
I continued sanding both sides of the board working through the sanding grits from 80 grit, 100 grit, 120 grit, 180 grit, 240 grit and finally 320 grit. I could have probably started at 100 grit and it would have been fine and frankly for this purpose if I had finished at 180 grit. Sometimes though you just get fixated on drawing out the grain.
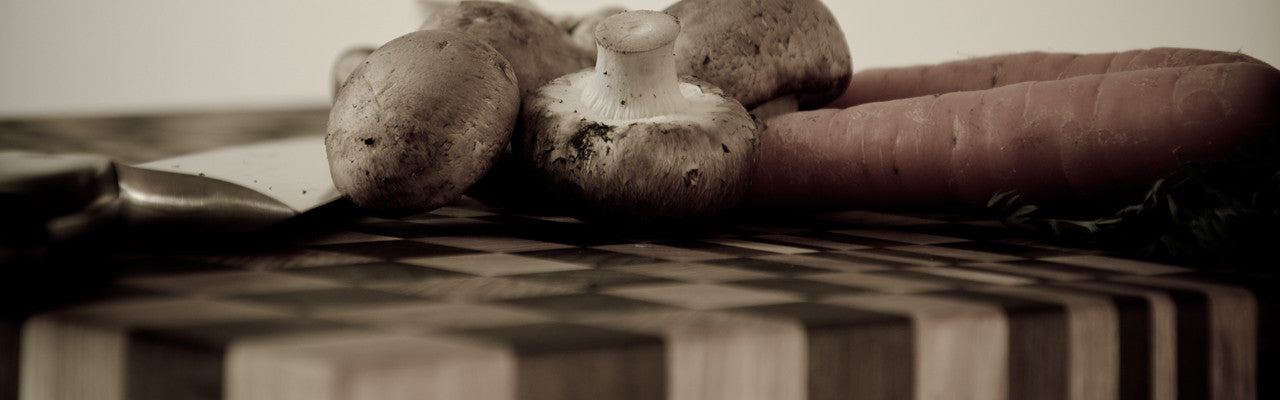
Photo 4: Here's one of my finished pieces.
I removed the bark from my pieces. This was personal preference as I thought since these boards were to be used around food then leaving the natural bark on would probably aid in the development of bacteria. As you can see in Photo 4 above, I think the finished piece is really stunning. Although I normally finish my end grain boards using my cutting board oil this time I opted to apply my natural beeswax polish finish.
For further information on any of my wood products or to purchase one of these beautiful Maple boards you can visit www.oceanviewwoodworking.com